by blankadm | Jun 15, 2022 | Blog
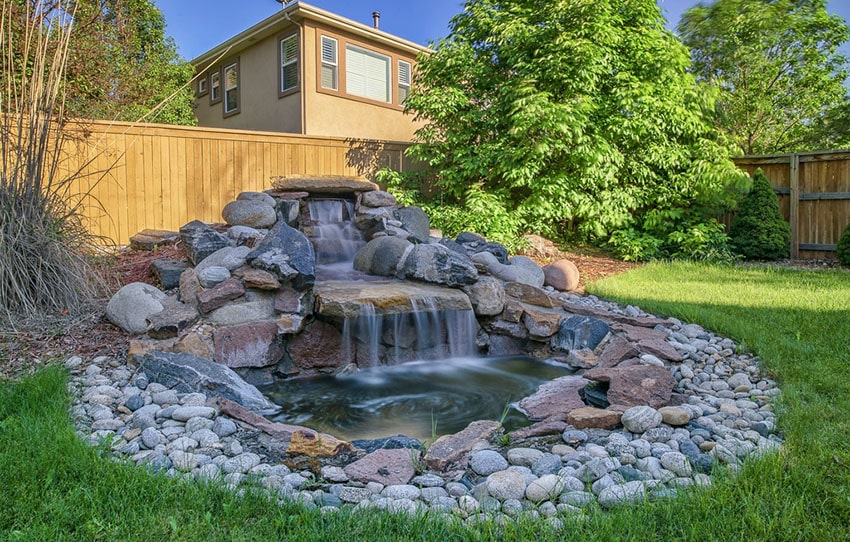
The form of the waterfall and the pool into which it falls are two elements to consider when designing an outdoor waterfall. You’ll use a pump in your pond to keep water flowing from the pond to your waterfall’s peak, where it will plunge back into the pond.
Waterfalls may be found in a range of shapes and sizes, and they provide an ideal focal point. When choosing design options, the most significant consideration is how to make the waterfall tall enough.
If you don’t already have a GFCI (ground fault circuit interrupter) outlet near your pond and waterfall, install one before digging. To make sure that the excavation for an outdoor waterfall and pond does not interfere with any underground utility wires, contact the Dig Safe phone number.
Building Your Waterfall
Dig the Pond
Remove debris from the area where your liner will be installed. Turn the pond liner upside-down, where you want it to be and draw a circle around it to make shoveling easier.
Using a carpenter’s level, make sure the depth and diameter of your waterfall pond’s hole are comparable to those for your preformed liner. Place the preformed liner in the hole for the waterfall pond. Check to see if it’s flat by laying a carpenter’s level on top of it (front to back, as well as left to right).
Build the Waterfall
One of your two structures will be completed when the pond is finished. It’s time to shift your attention to a more fascinating structure: the waterfall design. And that means revisiting the pebbles you’ll be using.
The most significant rocks are the spillway rocks, which are those directly above the water’s entry point. They should be as smooth as possible, with sharp, square edges. Such edges allow water to flow more smoothly.
After laying your first course of rocks in the front, cover them with a sheet of black plastic that is 4 feet long and 3 feet wide. The plastic serves the same purpose: namely, to catch more water than the rocks alone could and funnel it into the pond.
Lay the Rocks and Work With the Tubing
Thread the tubes through the rocks. When constructing rock walls, it’s typical to stagger the seams. Because these will be tiny rock walls, this is not a structural concern, of course. However, if only for the sake of appearance, try to staggered them.
Over the first row of rocks in the front, place a large flat rock across them all. Because this rock’s function is to provide an overhang, it’s an important element in your cascade design. It will serve as a shelf for you to set your initial spillway stone so that the spillway stone extends farther out into the pond.
Place one or more capstones over the end of the tubing and bend it downward toward the pond. The waterfall’s spout, in other words, will find refuge here. As you size up the end of the tubing that will become the spout on the surface of the second spillway rock, you may now better determine its location. Again, pull to lengthen or shorten your tube as needed.
Fill the Pond
You’ve now completed the pond’s water preparation. Using the pump’s power cable, test the pump’s flow and look for any leaks. Before you know it, you’ll have to make a lot of modifications. The objective is to keep the waterfall as close on to the middle of the pond as possible, allowing you on both sides of your natural rock waterfall while minimizing splash loss.
Not ready to take on a task this big? Call on specialists who can assist you! Our experts at Elite Development Group have the knowledge to make your yard a showroom for all of New Jersey! Contact us today and learn how you can help you!
by blankadm | May 15, 2022 | Blog
Are you someone who idolizes nature and who likes to interpret the world symbolically? You’re probably a good candidate for a Zen garden then! But lovers of low-maintenance landscaping should think twice before installing such a design. Zen gardens may look simple, but they can be a lot of work. Here’s what you should know before you begin:
What Is a Zen Garden?
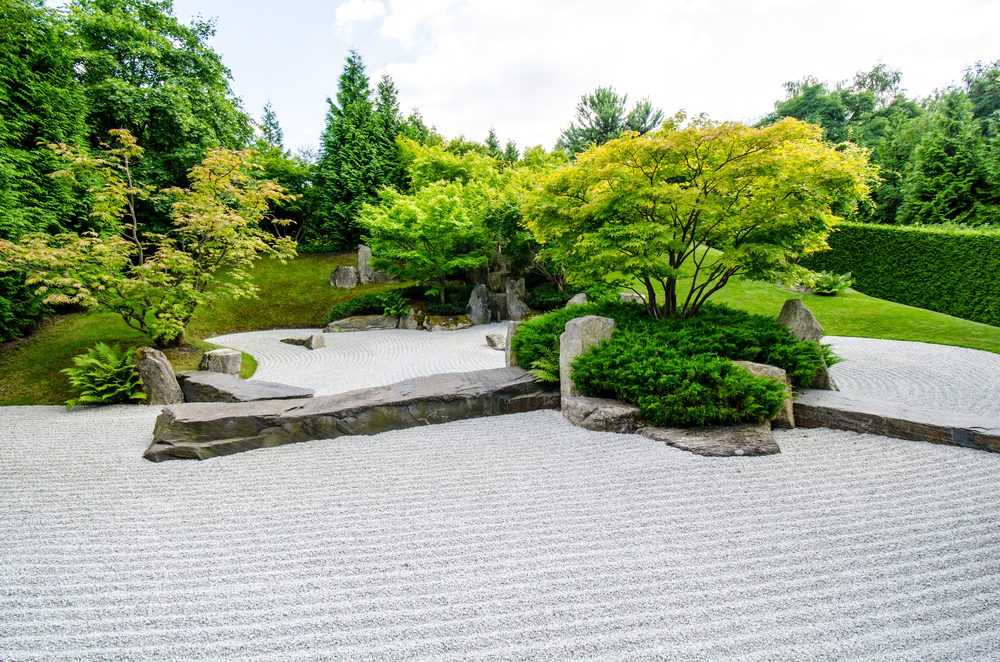
Developed by Buddhist monks in ancient Japan (with some Chinese influence), Zen gardens are often dubbed “miniature landscapes” because their components symbolize aspects of nature.
Most notably, the expanse of white gravel raked to have ripples represents ocean waves, and the tall, narrow boulders jutting out vertically represent mountains. Short, green plants may be grown on or around the “islands” to represent island vegetation, and architectural plants can serve as accents.
Tools and Supplies
- White gravel
- Rocks in a variety of sizes and shapes
- Steel garden rake
- Wooden Zen rake
- Shovel
- Hoe
- Tape measure
- String, string level, and stakes
- Tamper
- Landscape fabric
- Edging stones
How to Make a Zen Garden
- Clear the selected space completely of anything sticking up out of the ground like plants, weeds, and stones. Also remove the top layer of the existing soil.
- Check for level by pounding stakes into the ground end-to-end (both lengthwise and widthwise within your rectangle), stringing between them, and utilizing your string level.
- Rake out uneven spots, tamp down the soil, and run stone edging around the space. This edging will retain the white gravel.
- Dig holes for the rocks you’ll be using to represent mountains and/or islands. Arrangement is subjective, but try not to use symmetrical patterns, circles, straight lines Also, dig holes for any shrubs you’ll be planting.
- Install the rocks and plants in their holes. A significant portion of those tall, thin rocks (which represent mountains) should be hidden. They will appear more natural if you insert them like this at the end of the iceberg.
- Lay landscape fabric over the soil, making cuts to accommodate rocks and plants.
- Apply a thin layer of white gravel. With the hoe, spread it out. Using the wooden Zen rake, shape ripples or circles in it. After the elements have scrambled these patterns, maintain them by raking them back into the gravel with a Zen-garden rake.
Maintaining your home’s landscaping can be an arduous task, but Elite Development Group makes it easy with upscale monthly maintenance services for your home and garden. Contact us today and let the professionals keep your garden looking fresh.
by blankadm | Apr 15, 2022 | Blog
Fertilizing in mid to late spring is ideal, and will ensure healthy growth and discourage weeds all season long. When you’re ready to apply fertilizer this season, here are some pointers to help you use fertilizer safely and other things you can do to stimulate grass growth.
Handle Fertilizer with Care
All fertilizers should be handled with care and caution, especially since some of them contain pesticides. It’s vital to handle all fertilizers in a safe and responsible manner. Read the label carefully before beginning to ensure that you understand and follow the directions exactly as they are written.
Fertilizer can be dangerous, even for pet owners. Keep pets and children out of the way while applying it, as well as any other measures required. It’s also a good idea to wear gloves and safety glasses while working with fertilizer since many types do include chemicals that can irritate the skin and eyes.
Grass Clippings
While you may be tempted to just toss them in the garbage, you might think about putting them to better use! Grass clippings are an excellent natural fertilizer, promoting your grass to grow robust and green.
Add Compost to Your Lawn
Adding compost to the soil improves grass growth and appearance, making it a good option for individuals who are looking for a natural approach to improving their lawn’s health. Compost is decayed organic material that plants require to thrive. The addition of compost to a lawn or garden might aid in the improvement of the soil by breaking up compacted areas and stimulating the development of helpful microorganisms.
Overseed
Have you considered overseeding your patchy lawn? Overseeding is a technique to improve the health and look of a grass without having to completely remove it and start over. It may assist with issues such as brown or bare patches, as well as the ability to transition between warm and cool season grasses for a green lawn all year.
At Elite Development Group, our team of lawn maintenance pros can test your soil, recommend the right fertilizer for your type of grass, and apply it for you when the time is right. Contact us to learn more about it and the other quality services we offer.
by blankadm | Mar 15, 2022 | Uncategorized
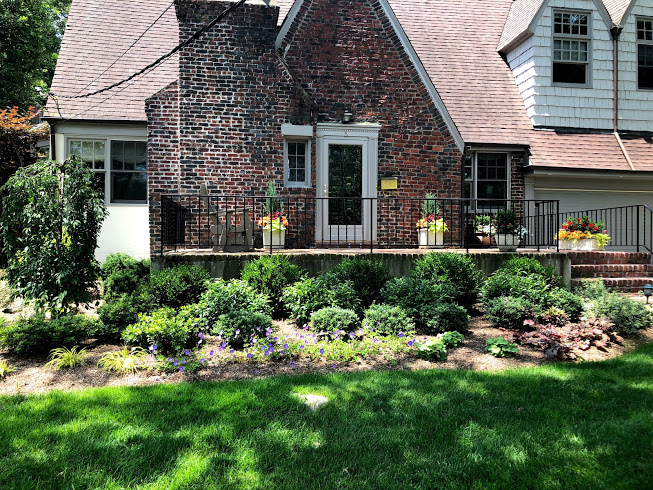
Now that you’ve successfully fought your way through the harsh New Jersey winter, it’s time to start planning for your spring yard! Here’s a landscaping checklist for March that will have your yard looking great all summer long.
Early preparation
The first step in creating a beautiful yard is to plan ahead of time. March is a great time to inspect your landscaping tools and clean off any residual dirt and debris. Also make sure to complete any tool repairs before the season begins.
This is also the ideal time to clean up from the winter months. You should clean up any flowers and plants that died over the winter and cut back ornamental grasses in your landscape.
Lawn care
Although the yard may not be the most eye-catching feature of your landscape, it is an essential component. It’s critical to take action now to guarantee that your yard is colorful and healthy throughout the year.
You might notice several bare spots in your lawn towards the end of the cold New Jersey winter. You shouldn’t ignore the bare spots since it can adversely affect the health of your yard.
Plan out your garden
- Attend flower shows to see the latest trends
- Shop catalogs to get some inspiration
- Prune shrubs and plants
- Stockpile the seeds you need
- Seed your garden
If you want assistance in preparing your garden for the coming season, call on specialists who can assist you. Our experts at Elite Development Group have the knowledge to make your yard a showroom for all of New Jersey! Contact us today and learn how you can help you!
by blankadm | Feb 15, 2022 | Blog
Ready to take your yard to the next level? Landscape edging is the perfect opportunity to give your gardens and pathways a beautiful decorative border and keep the grass at bay. Edging comes in a wide range of materials, styles, and is a great way to refresh your yard. Here’s how:
Landscape edging benefits
Installing landscape edging is great for creating a little definition and a clean visual line. It also helps to accentuate plant beds and keep the grass and mulch where they belong. Whether you opt for straight lines or curved ones, you can unify and coordinate your landscaping with the rest of your home’s style.
Landscape edging materials
Depending on the materials and style you choose, landscape edging can be a decorative feature in its own right! There are many appropriate edging materials you can use to create a border that can withstand the outdoor elements:
- Brick
- Natural Stone
- Poured Concrete
- Gravel
- Pavers
- Wood
- Bamboo
- Metal
- Plastic
- Rubber
Landscape edging is an easy way to make your lawn look crisp, finished and well-taken care of! If you’re aiming to refresh your landscaping, installing the right edging can be the key. At Elite Development Group, we make it easy with upscale monthly maintenance services for your home and garden. Contact us today and let the professionals keep your landscaping looking great all year round!